

Last weekend my mom came for a visit. And since my energy is not up to par these days, she did some fun back-to-school things with the girls. Including making Back-To-School Cookies.
What? You’ve never heard of Back-To-School Cookies? Well, I hadn’t either. Until my girls dreamed up this idea as a great excuse to get my mother baking with them, since they love to bake with their grandmothers.
With a little creative thought and some ingredients we already had on hand, this turned into what I think will become a back-to-school tradition in our house.
Back-to-School Cookies
What you’ll need:
- Your favorite sugar-cookie recipe plus the ingredients to make it, or a tube of store-bought sugar cookie dough. (Need a gluten-free recipe? Try one of these.)
- A rolling pin, knife, and several cookie sheets for baking.
- (Optional) A silicone baking sheet for rolling out the dough (this makes rolling and clean-up easier, if you already have one).
- (Optional) Shaped cookie cutters – apple, circle, house, heart, etc.
- Yellow and red food coloring, plus another color if you have it.
- Brown sprinkles (the kind that are shaped like miniature bars) plus some other colorful toppings, for decorations.
- (Optional) Powdered (confectioner’s) sugar plus water and food coloring, for icing.
Getting ready
First, prepare the cookie dough according to directions, and chill it for several hours so it’s cold enough to work with.
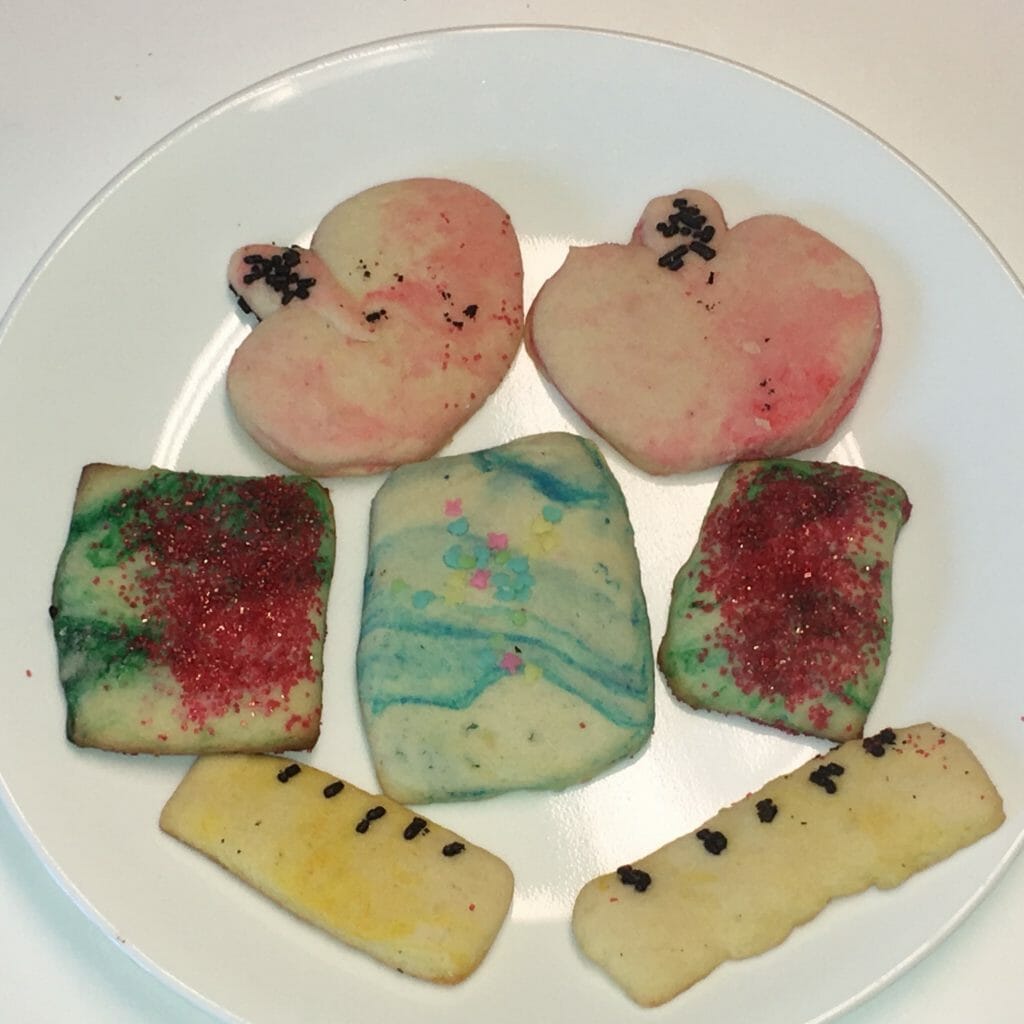
While you’re waiting for the dough to chill, decide what kinds of Back-to-School Cookies you want to make, and figure out how you’re going to make them. For example, my girls decided to make four types: yellow rulers, red apples, blue books with flowers on them, and green books with red sparkles.
My mother, the queen of making cookies, asked if I had an apple-shaped cookie-cutter on hand; I did not. But I DID have an assortment of heart-shaped cutters. So they used the heart-shaped cutter approximately 3 inches (7.5 cm) across to make the apples; more on this below.

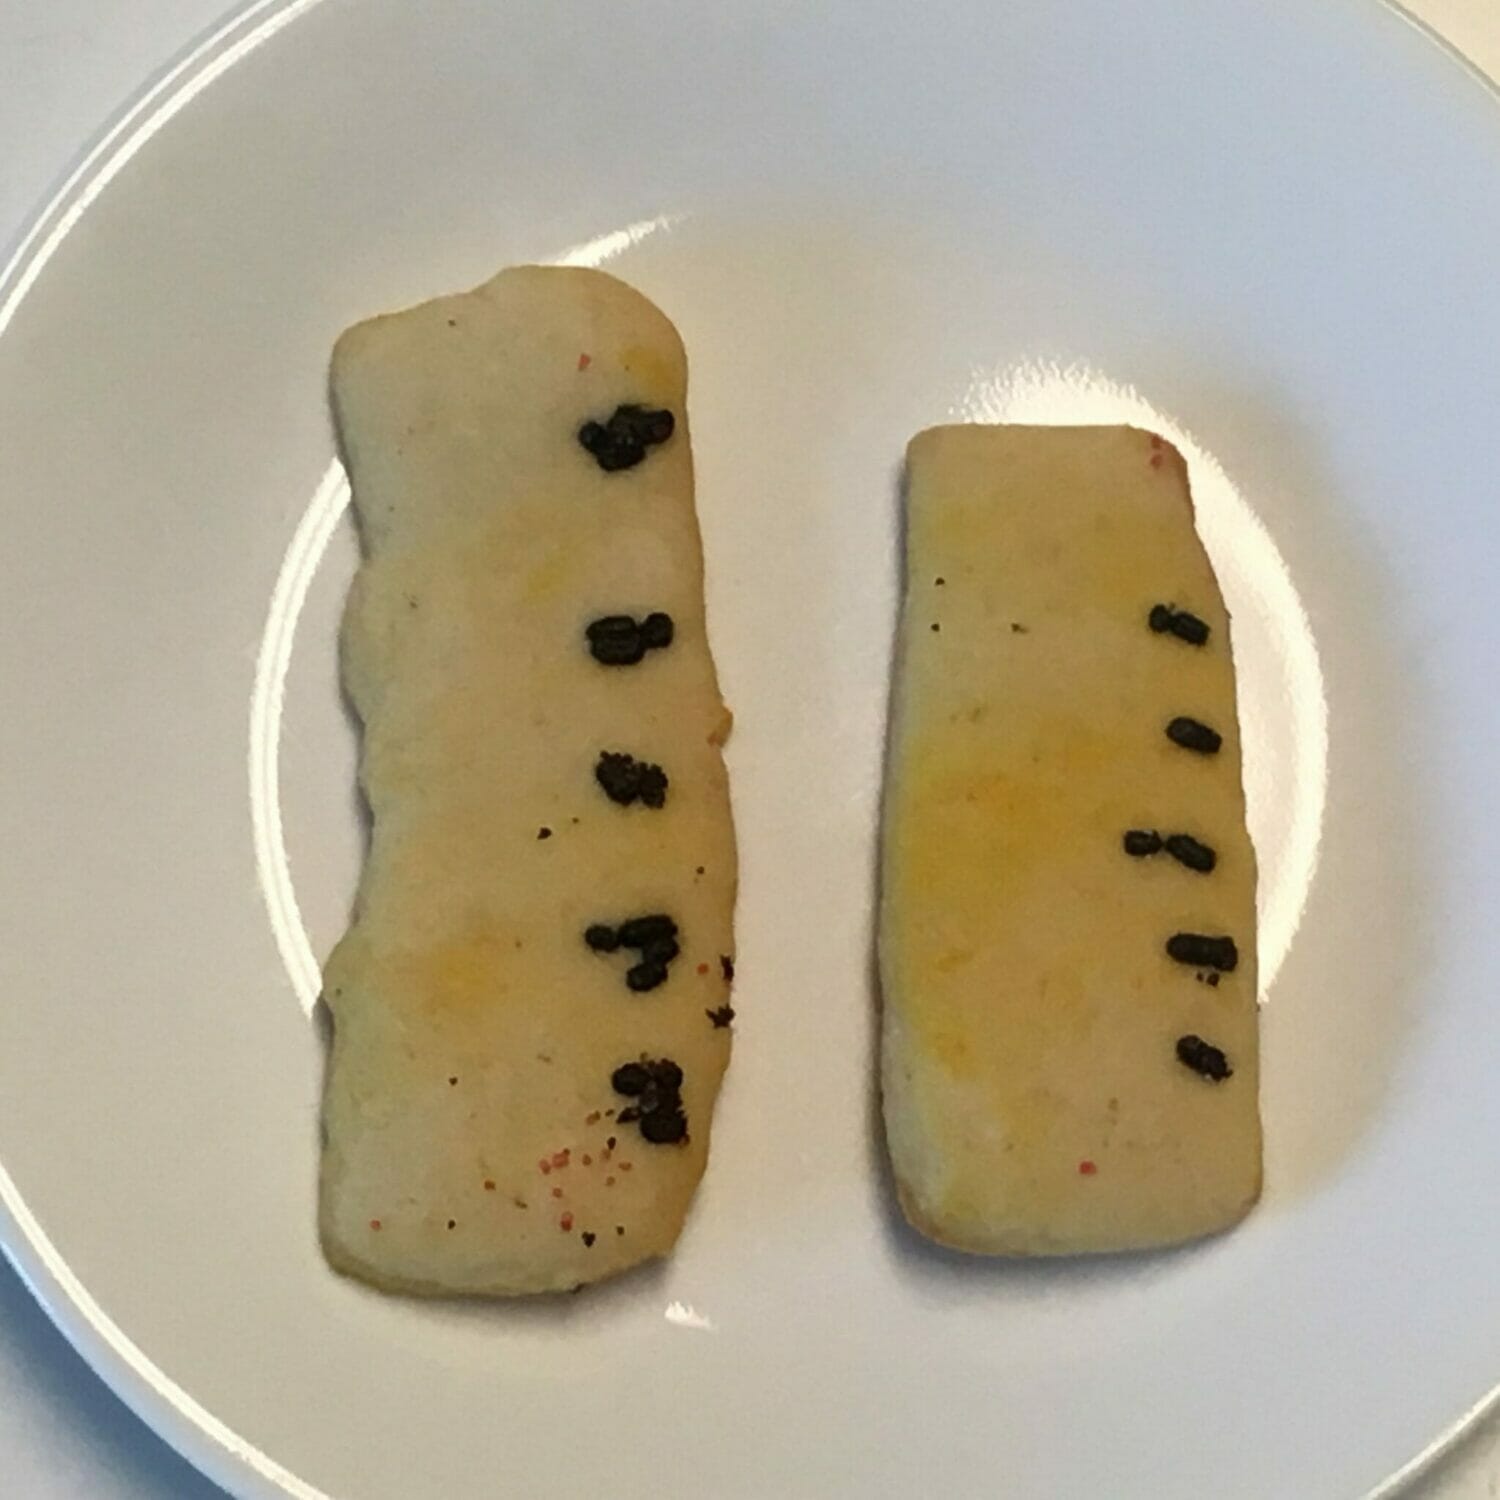
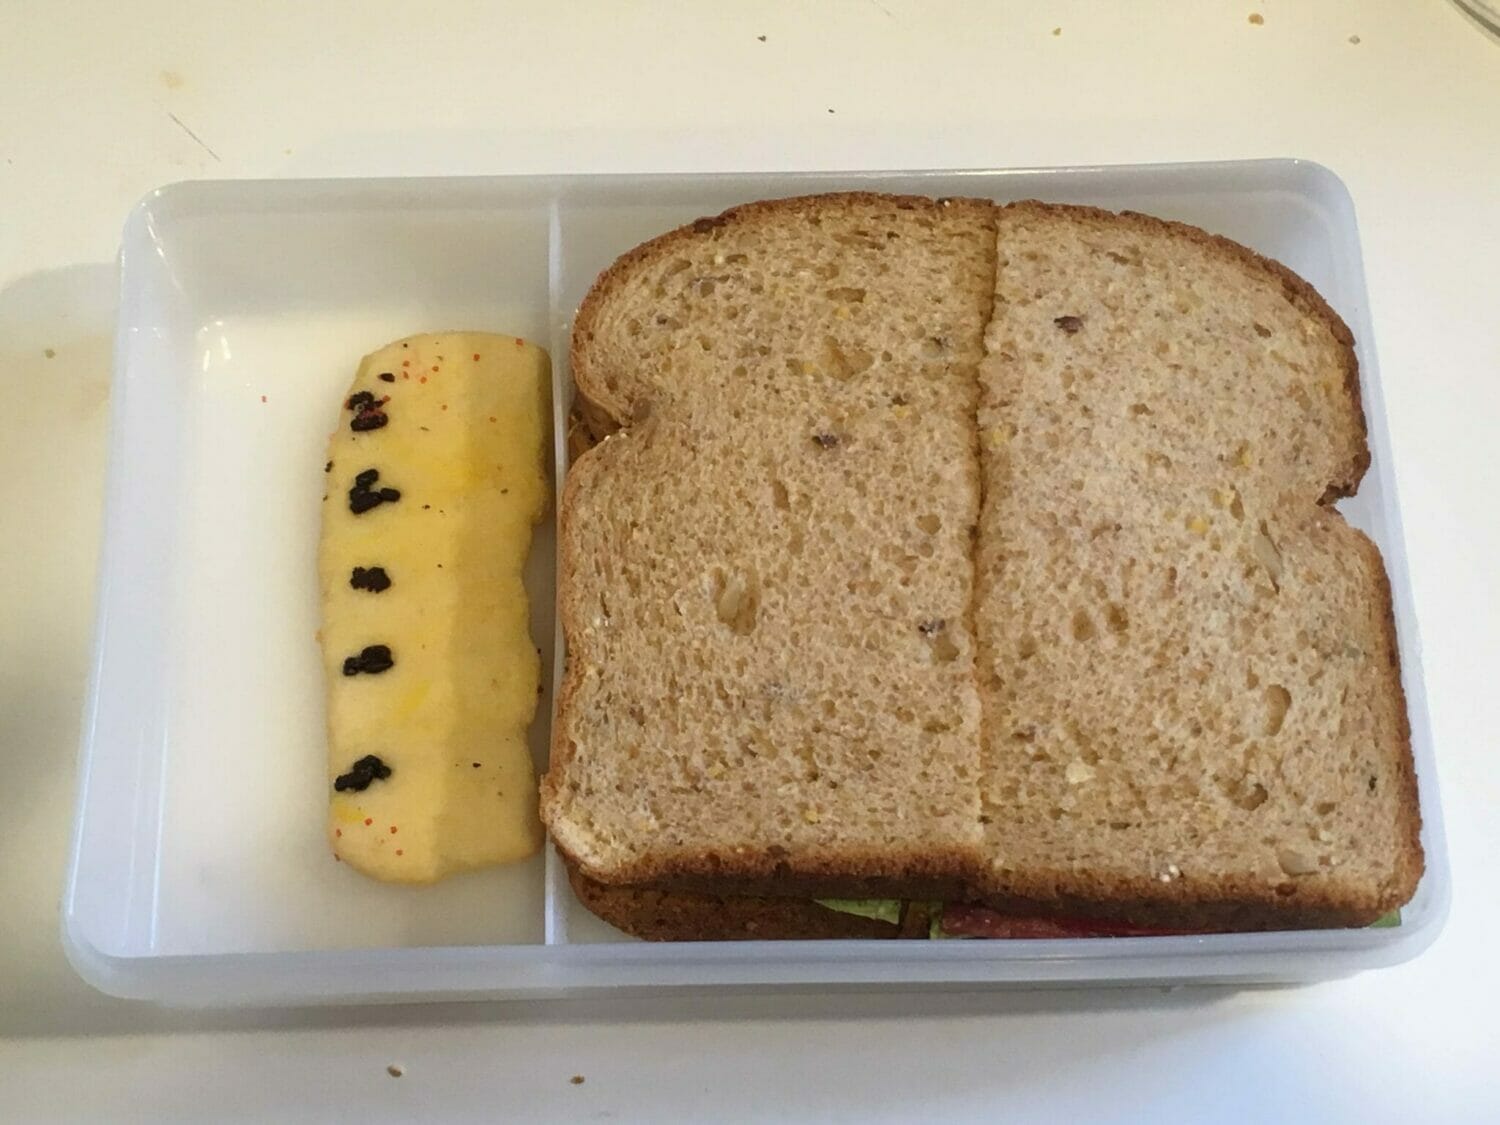
Rulers:
- Mix a little yellow food coloring into a small ball of dough, and roll out.
- Using a knife, cut the dough into rectangles approximately one inch wide and three inches long.
- Place chocolate sprinkles carefully along one side so they look like marks on the edge of a ruler.
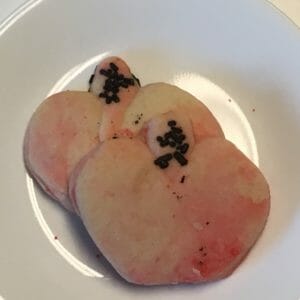

- Mix a little red food coloring into a small ball of dough, and roll out.
- Cut the dough into heart shapes with the heart-shaped cookie cutter.
- Carefully slice the point off the bottom of each heart, and stick it at the low point on top of the cookie, and ta-da! Your point is now a stem.
- Cover the stem with chocolate sprinkles.
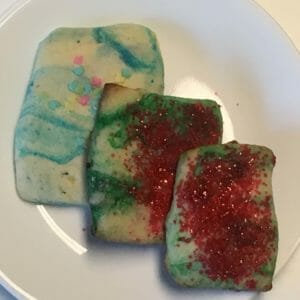
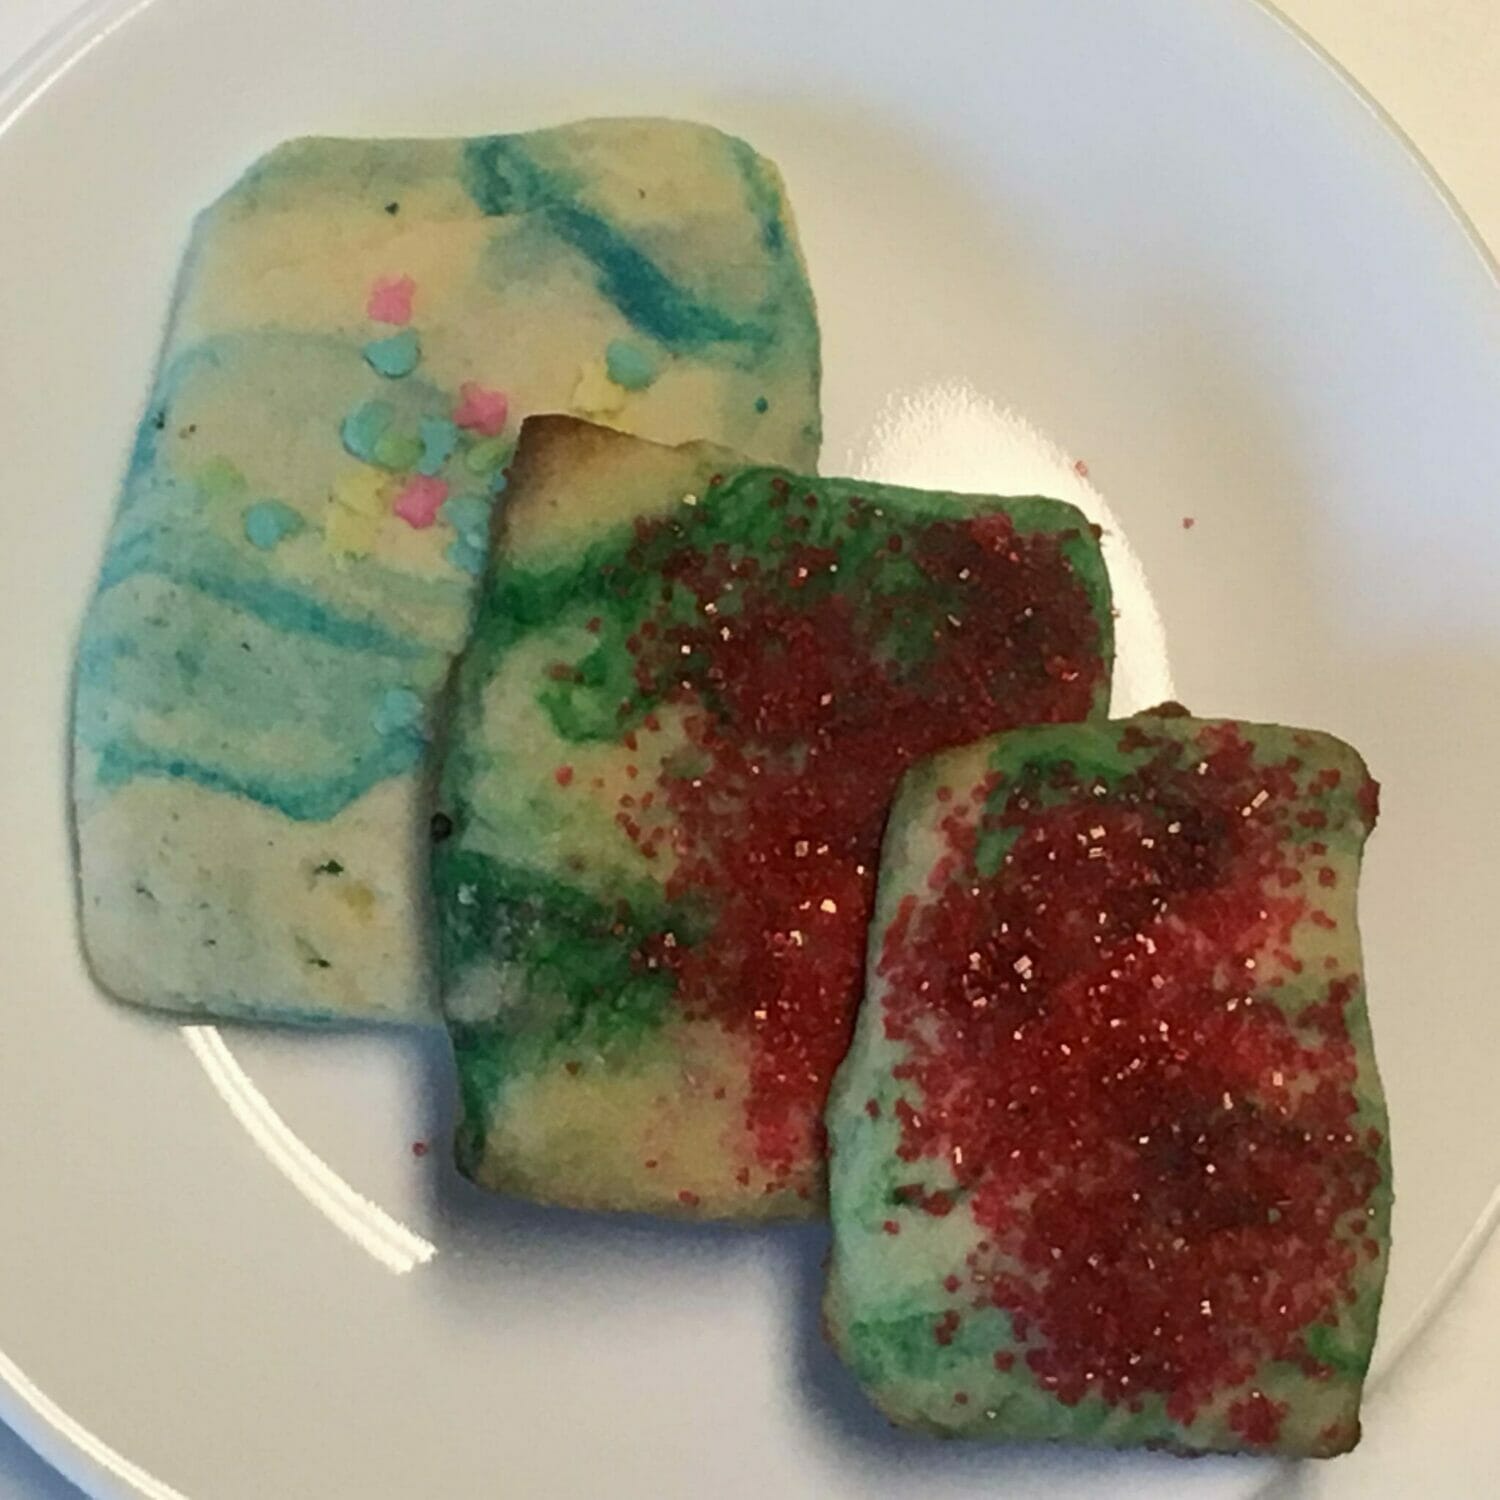
- Have your kiddos decide what color books they want, and color the dough accordingly. Kimmie decided to make large blue books, and Essie picked smaller green books.
- Roll out the dough, then use a knife to cut it into small rectangles. My girls made their blue books about 2 inches by 3 inches (5cm by 7.5cm), and their green books about 1.5 by 2 inches (3.5cm x 5cm).
- Decorate the rectangles however you like. Kimmie put pastel flower candies on her blue books, and Essie sprinkled red sugar on her green books.
Optional icing:
If you’d rather ice the cookies after baking them, or don’t have toppings on hand to decorate the cookies before baking, then put some powdered sugar into a small bowl. Add a few drops of food coloring, if desired, then add small amounts of water until you have a thick paste. (You can add more water if you want, but your icing will be runnier and harder to spread, especially if your kiddos are the ones doing the spreading.)
Other ideas:
If you and your offspring can dream it up, there’s surely a way to make it.
- Use a round cookie cutter (or roll out very small balls of dough into flat circles) for balls (e.g., soccer balls). Decorate with white icing and small pieces of cut-up black licorice.
- If you don’t have a cutter shaped like the proverbial little school house, improvise: cut your dough into squares, cut some of the squares diagonally in half to make two triangles, and stick a triangle on top of the square to make a little house shape.
- Use gingerbread cutters to make the shape of little boys and girls, and have your children decorate their own Mini-Me’s to take with them on the first day of school.
- Rectangles plus icing can also make a good tablet shape, if a tablet is part of your kiddo’s back-to-school gear.
- Or roll out thin ropes of different colors, cut them up into 3-inch (7.5-cm) lengths, and call them crayons. (Watch carefully while baking, though, so they don’t burn!)
Have you made back-to-school cookies before? If so, how does your family make them? Let us know in the comments!
NOTE: This site contains affiliate links. I may earn a small commission from any purchases made through affiliate links, at no additional cost to you. For more information, please read the full disclosure/privacy policy.


