

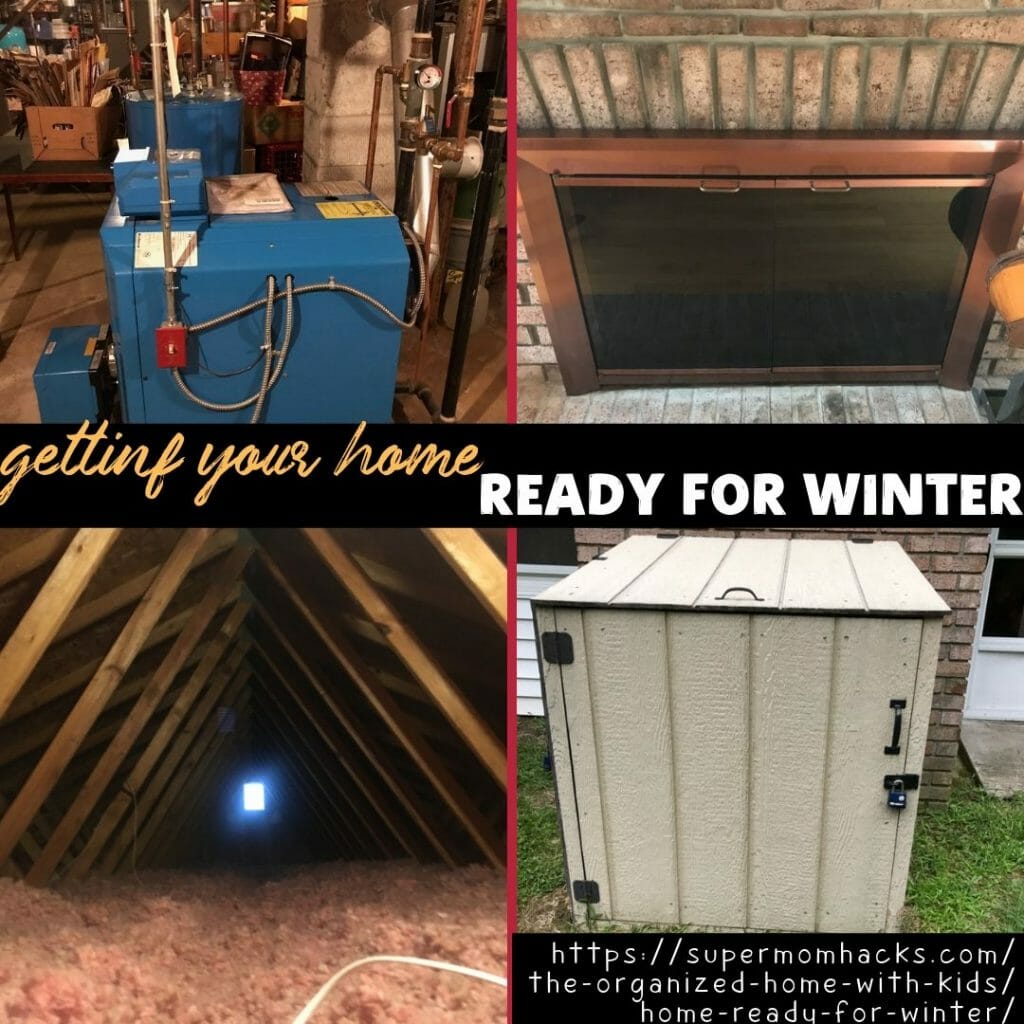
Winter is coming; is your home ready?
It’s one thing to make your home all cozy for the cooler temperatures that autumn brings; but getting your home ready for winter is another matter. Recent winters have been no joke. Whether you want to call it climate change or Mother Nature’s sense of humor, phrases like “polar vortex,” “snowmageddon,” and “bombogenesis” are becoming more common. A decade ago, most of us had never even heard of them.
Do you remember that long power outage? Or the day your kids’ school got cancelled because of subzero windchills? Or that burst water pipe? Or shivering in your living room trying to stay warm?
If you answered “yes” to any of these, you’d probably like to avoid some of the pain and discomfort you remember from last winter. Fortunately, there are several smart things you can do to get your home ready for winter’s arrival.
We’ve been knocking a lot of these projects off our to-do list in recent months, and are already noticing the difference in our energy bills. And once the cold weather gets here, we should notice even bigger savings. We can’t wait to watch our electric bill plummet compared to recent winters!
Ready to get started? Here’s your quick-start guide to
Getting Your Home Ready for Winter

This is a collaboration post. However, please know I stand behind everything written here, and only include links to products/services/resources I’m willing to recommend personally.
1. Get an energy audit
Have you ever had an energy audit of your current home? If not, this should be your first place to start.
Having an energy audit in the fall is a great way to find all those drafts, leaks, and other energy-waste points in your home. Once you know where you’re wasting energy, you can take steps to stop all your hard-earned dollars from going right out the window with each month’s electric and heating bills.
Often your electric company will provide this service. Sometimes it’s free; other times it costs you a small fee (our last one was $50) BUT they promise to leave you with at least that amount in coupons and free products.
Our last one was super eye-opening. Among other things, we learned that our attic was short on insulation for today’s minimum standards; No wonder our upstairs was always chilly in the winter (even with the heat on), and too warm in the summer despite having the AC on!
And once you know where you’re wasting electricity and losing heat, you can take steps to stop the leaks.
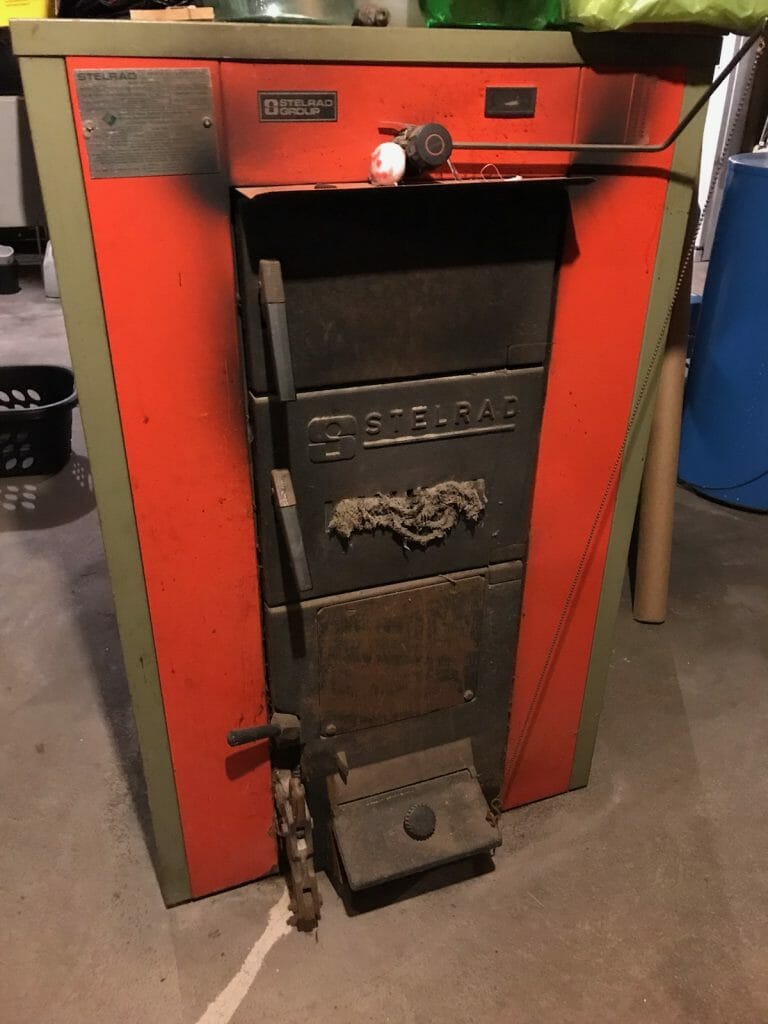
2. Get your furnace serviced and ready
I’ve said it before and I’ll say it again: getting your furnace serviced every fall is crucial if you want it to work properly for you all winter.
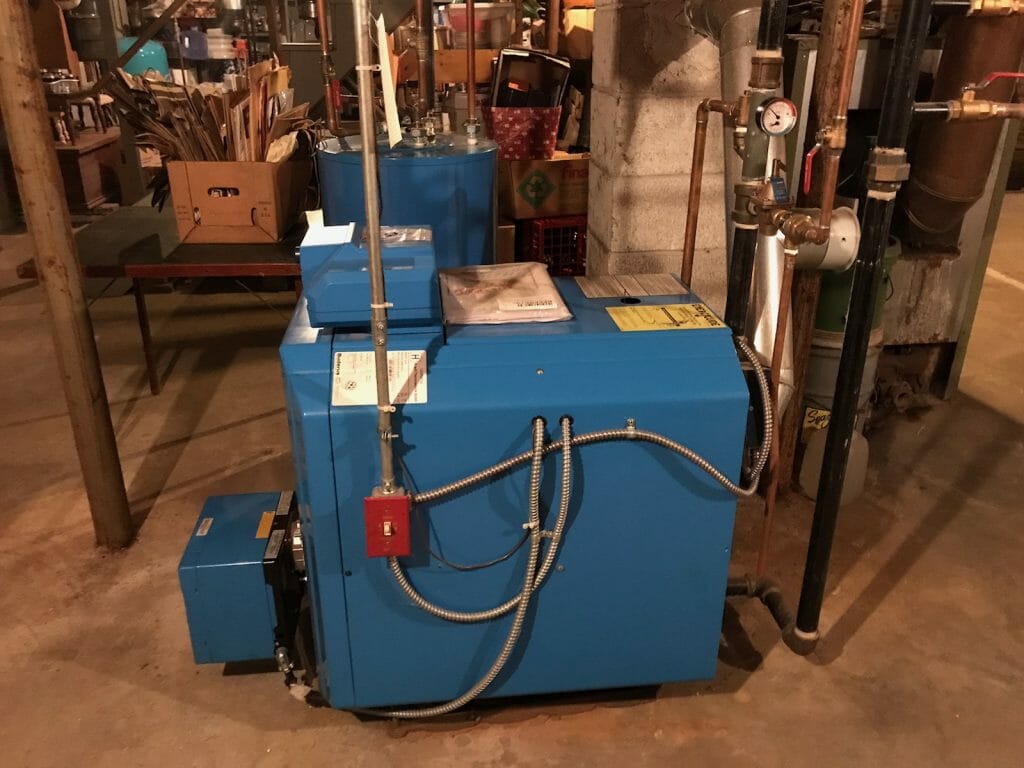

We know what it’s like to call our furnace service provider on a cold Saturday winter night to report that our heat has kicked off unexpectedly. Getting regular service on your unit does you two things:
- a) if you DO need service, you get priority scheduling; and
- b) you’re less likely to need service in the first place!
Getting your furnace serviced is just like getting your car its regular oil changes. Preventing problems is way better than trying to deal with them after the fact. And if your furnace dies, all sorts of other systems can fail. For example, if you think a cold house is bad, imagine throwing in a burst pipe or two from the lack of heat causing your water lines to freeze!
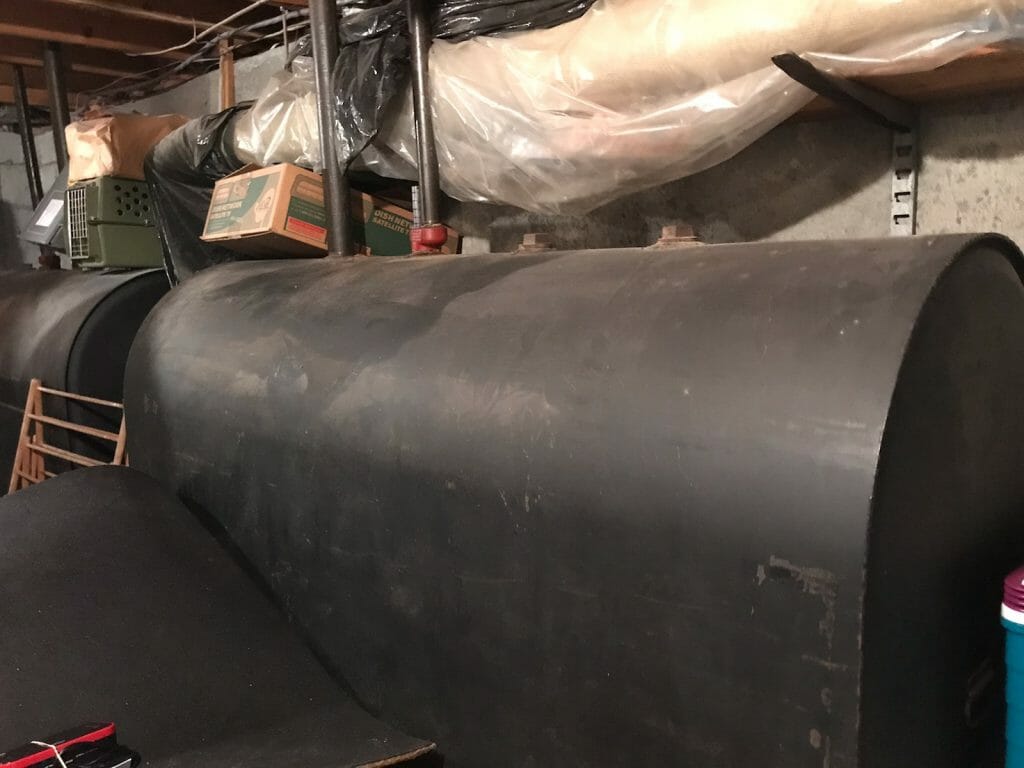
Oh, yeah, and if you use heating oil or propane for any portion of your house heating or cooking needs, get those tanks topped off BEFORE the temperature plummets.

3. Service your fireplace, too
Do you have a fireplace? Chances are good you’ll be using it in the chilly months to come. But is it up to the task?
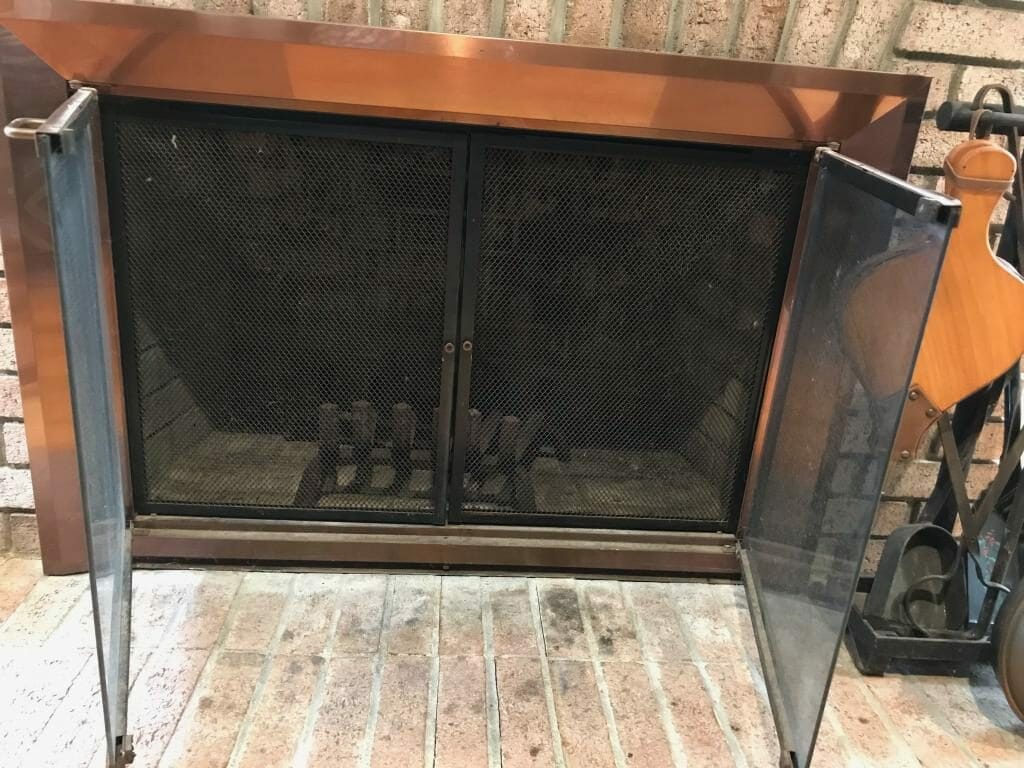
The last thing you want is a creosote fire in your chimney. So if you can’t remember the last time you had your chimney cleaned out, better get it done now.
Do you use a wood-burning fireplace (or furnace, for that matter – or even a pellet stove)? Make sure you lay in a supply of wood or pellets of whatever you need. (And get that chimney cleaned out while you’re at it.)

Been thinking about upgrading your current wood-burning fireplace to a gas insert? Make plans to order and install it NOW, before the weather starts to turn cooler.
I’ve written more about the different types of fireplaces here, but here are your basic choices:
- Do you want a pretty log that will look nice and return about 20% of its energy use back into the room as heat? Or do you want a fully enclosed system that returns 60-80% of its energy consumption back into the room as heat?
- Do you want a vented system or a ventless one? Ventless ones are even more efficient at returning their energy consumed into the room as heat (90-plus percent!) , but they aren’t legal in all states. And for anyone with breathing problems, they might not be the best choice on those grounds.
This has been on our wishlist since we bought our home about a decade ago, and we are hoping that this is the year we finally get to do this in the fall.
4. Check your garage door
Trust me, there’s nothing less fun on a frigid winter day than returning home with a car full of groceries and littles, pressing the button to open your garage door so you can drive in, and finding out the garage door isn’t working properly!
That’s why you also want to make sure your garage door is in proper working order. If it’s been on its last legs for awhile now (as our old one was), the last thing you want is for it to die in the middle of the winter!

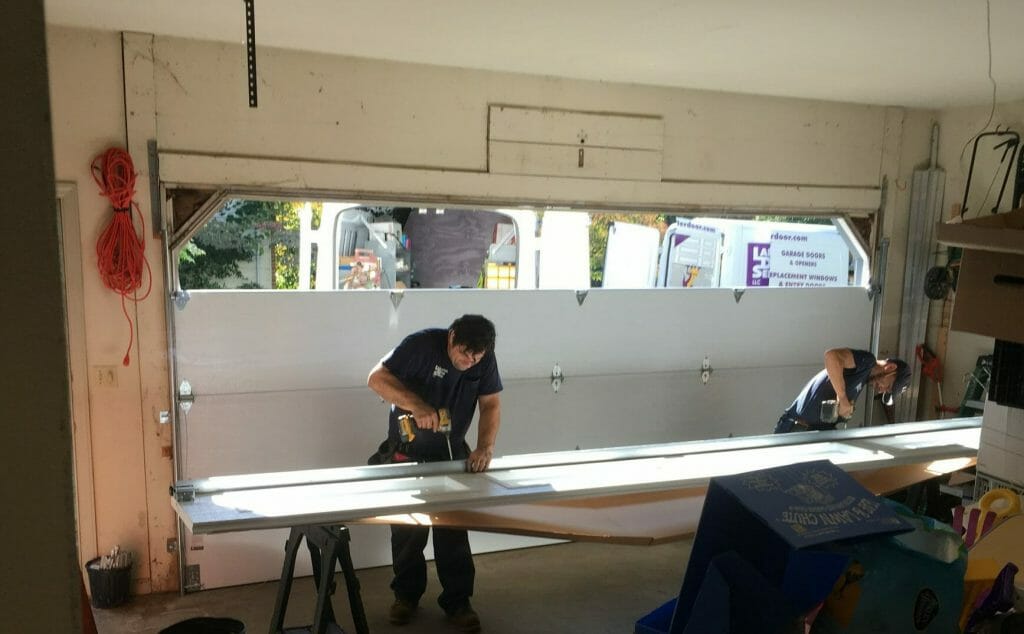
A new garage door with better insulation inside can also help keep your garage warmer, and by extension help to minimize interior heat loss through your garage. And even if yours just needs a tune-up, you’ll be glad to have your garage door repair work done before winter storms hit.
Your garage door repairman will also be happy to show you how to trigger the emergency release to detach your door from its power supply, in the event of an outage. Once upon a time, back before I was a mama, I was actually late to work one day because I did not know how to do this! (My boss was not impressed.)
5. Check your generator
We don’t have a generator, because we’ve never (knock on wood!) lost power for more than a few hours. But where I grew up in a small rural town, it’s not uncommon for the power to go out for days at a time, if not a week or more. My mama loses power at least once a year, generally for days versus hours.
Because of this, she has a generator at home. She’s had a special little house built outside for it (because you can’t have the generator inside your own house when it’s running). And at least once a year, she starts it up to make sure it’s running smoothly and has plenty of fuel.
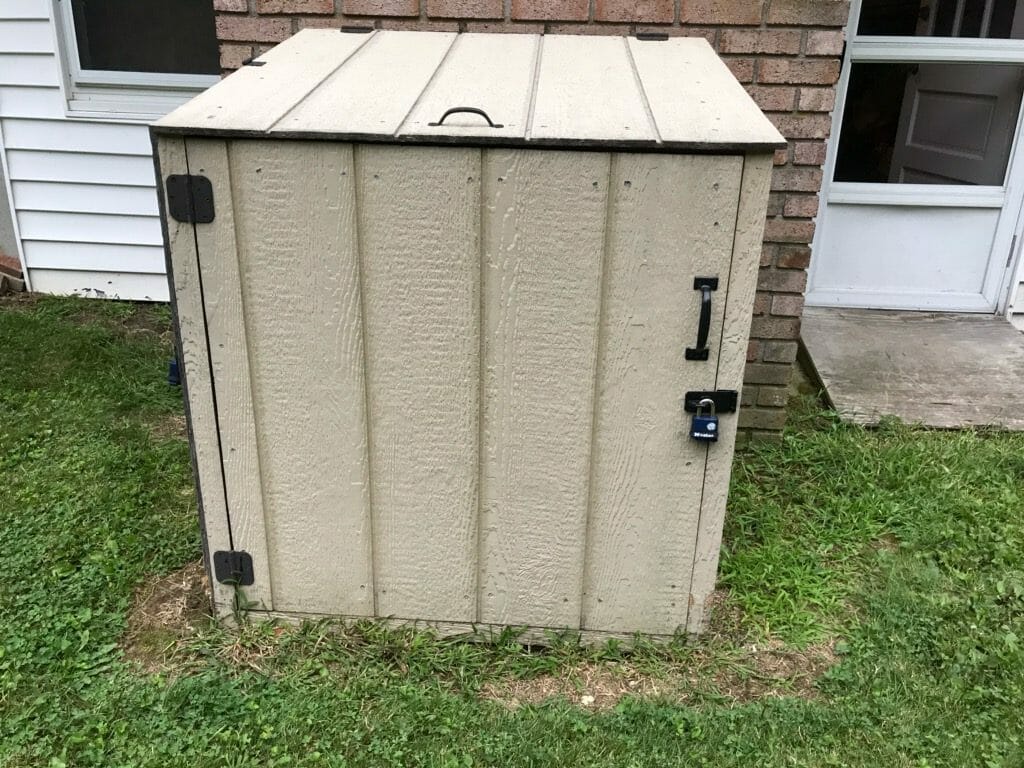
Don’t yet have a generator? Here are a few tips:
- The time to buy one is NOT when there’s a big storm coming, as supply will be limited.
- You don’t need one big enough to run your whole house! – just a few key rooms/appliances, like your kitchen.
- To save fuel, you can get away with running it for only a short while each day. You can get away with NOT having your fridge and freezer running nostop for a few days, as long as you run them for a couple hours each day and keep the doors shut otherwise. A full freeze will tend to insulate itself against thawing, as it’s basically full of solid frozen stuff.
- And again, you need to have a way to either store it outside that is sheltered from the elements, or easily roll it outside when it’s time to run it. Plan ahead for these when buying your unit.
6. Add insulation as needed
Home builders measure how effectively your home’s insulation will retain heat through something called an “R-factor.” The colder a climate you live in, the higher R-factor you need in your walls, attic, and floors to protect your home during the colder months.
And not only does this insulation settle over the decades (reducing your R-factor), but standards can also change over time. As we learned during our energy audit when we bought our home, our 1980s dwelling had the appropriate recommended R-factor of insulation when it was built. But nowadays, our zone’s recommended minimum is much higher than what we currently have.

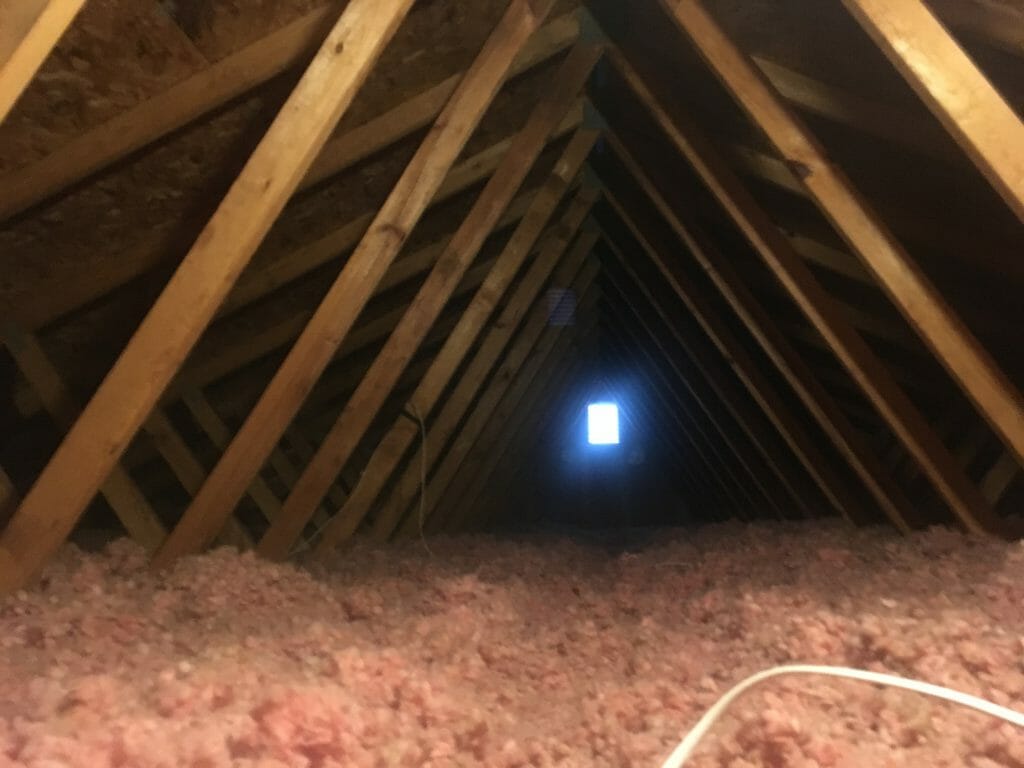
So we’re planning to get more insulation blown into our attic this fall, in order to get up to current minimum recommendations (and thereby keep our heating system from working overtime this winter). We can’t wait to see the lower energy bills that should result from this!
And even better, you can often get state and federal rebates for energy-efficient home improvements along these lines. Check your state’s website, consult your local energy company, and/or enter your zip code into this federal EnergyStar website to check current rebate offers.
Oh, and while you’re adding attic insulation, you’ll also want to make sure your pipes are properly insulated, or else put off fixing a dripping faucet until spring. (Whoever does your energy audit can give you tips on this.) Also, be sure to turn off any outside water lines (e.g., your garden hose) for the winter.
If you have pipes that aren’t properly insulated or are too close to your home’s exterior walls, you’ll need to either get them bulked up now, or leave your faucets trickling all winter to keep the pipes from freezing. (This is what we did when I was growing up, and what my mama still does to keep her pipes from freezing.) As any homeowner who’s lived through a burst pipe can tell you, cleaning up the mess afterward can literally take months. (Not to mention tens of thousands of dollars.)
7. Block drafts from windows and doors
That energy audit you got back in step #1 no doubt identified a number of windows and doors where you’re letting in more cold air than you’d like. There are several ways you can go about fixing this problem – some inexpensive, others more of a long-term investment.
The more costly way to go, of course, is with brand-new replacement windows and doors. If your current windows are more than 20 years old, this is something you’ll want to do at some point anyway; newer windows are much more energy-efficient than older models. (Again, check both state and federal options for rebates or tax credits.)
As an in-between step, make sure you’ve got your storm windows down, and the storm panels down on your doors. (These are the panels of thick see-through plastic that slide down over your screens, to block out some of winter’s cold.) If you have an exterior door without a screen/storm door installed, look into adding this extra layer before winter comes. (We had this done last summer on our walk-out basement; for only a few hundred bucks, our basement is now a lot less drafty from that door!)
If your windows and doors are still drafty, look into whether they need re-caulking and/or new weatherstripping around the edges. Still chilly? Add some thermal insulating curtains over your windows, and keep the curtains shut during the day on the north side of your house. These really make a huge difference in helping to trap in the heat (as well as keep the heat OUT on hot summer days!).
Are there items on your get-your-home-ready-for-winter list that I missed? Tell us about them in the comments!
If you enjoyed this post on getting your home ready for winter, why not share it with others by pinning this image?


NOTE: This site contains affiliate links. I may earn a small commission from any purchases made through affiliate links, at no additional cost to you. For more information, please read the full disclosure/privacy policy.
Follow Super Mom Hacks on Facebook, Instagram, Pinterest, and Twitter!
Or stay in the loop by joining our mailing list!