

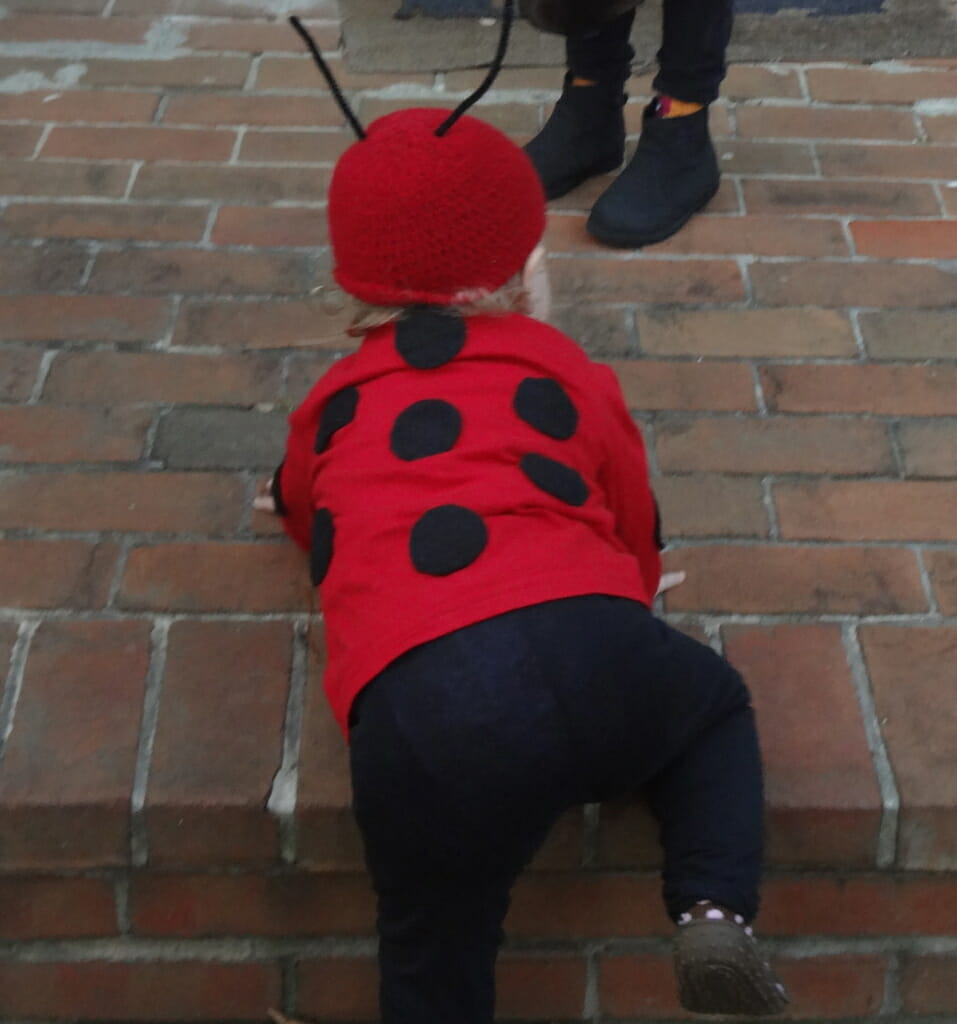
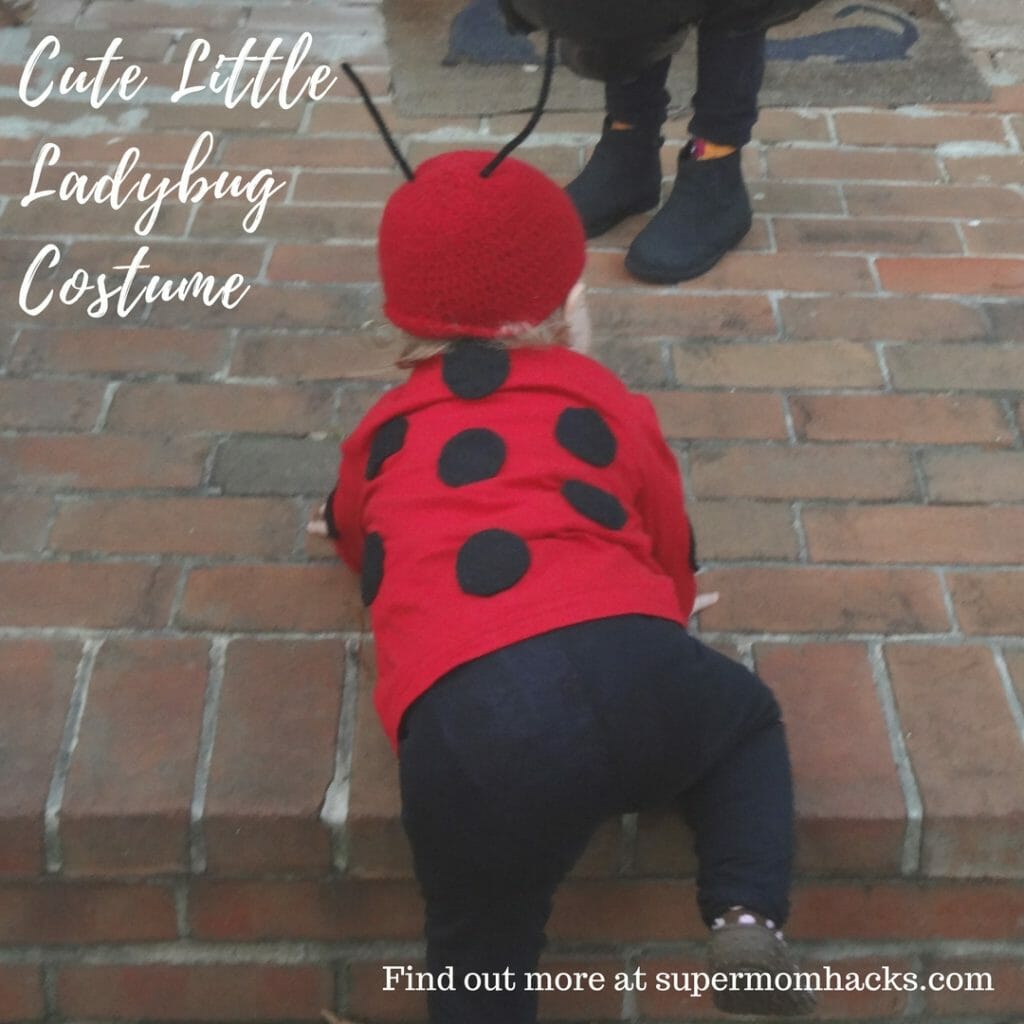
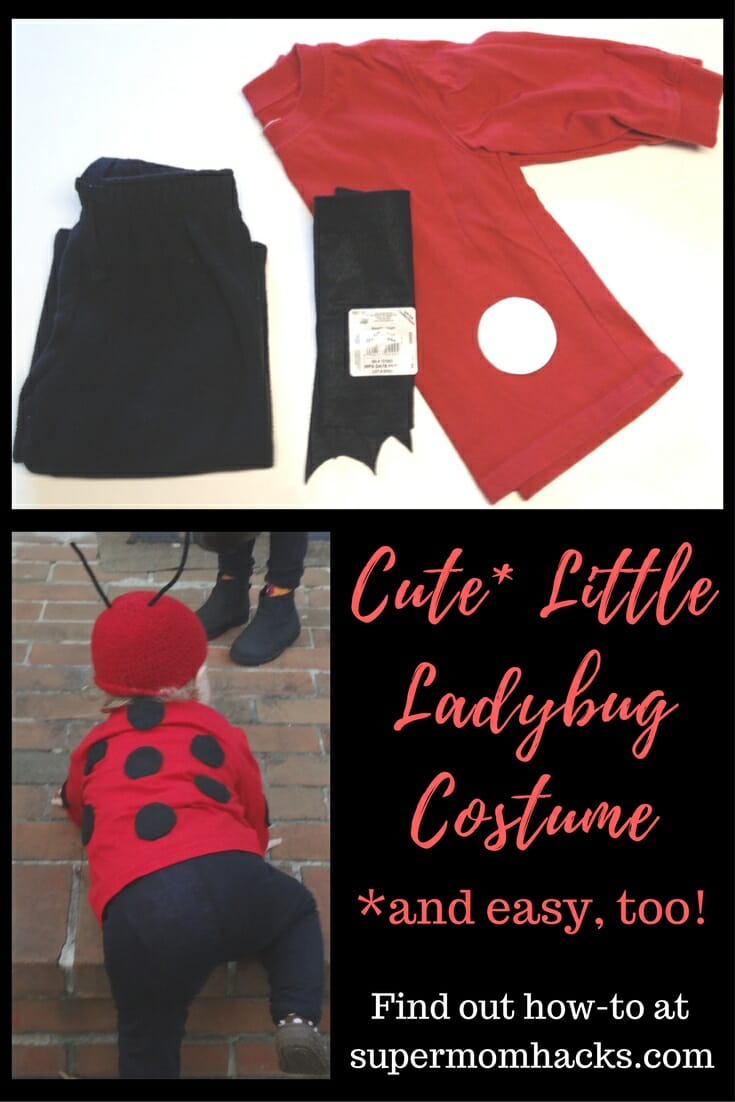
What could be cuter than a little ladybug at Halloween? A little ladybug costume that you made yourself!

What You’ll Need:
This DIY costume takes 1-2 hours to make, depending on how you do it. You’ll need the following:
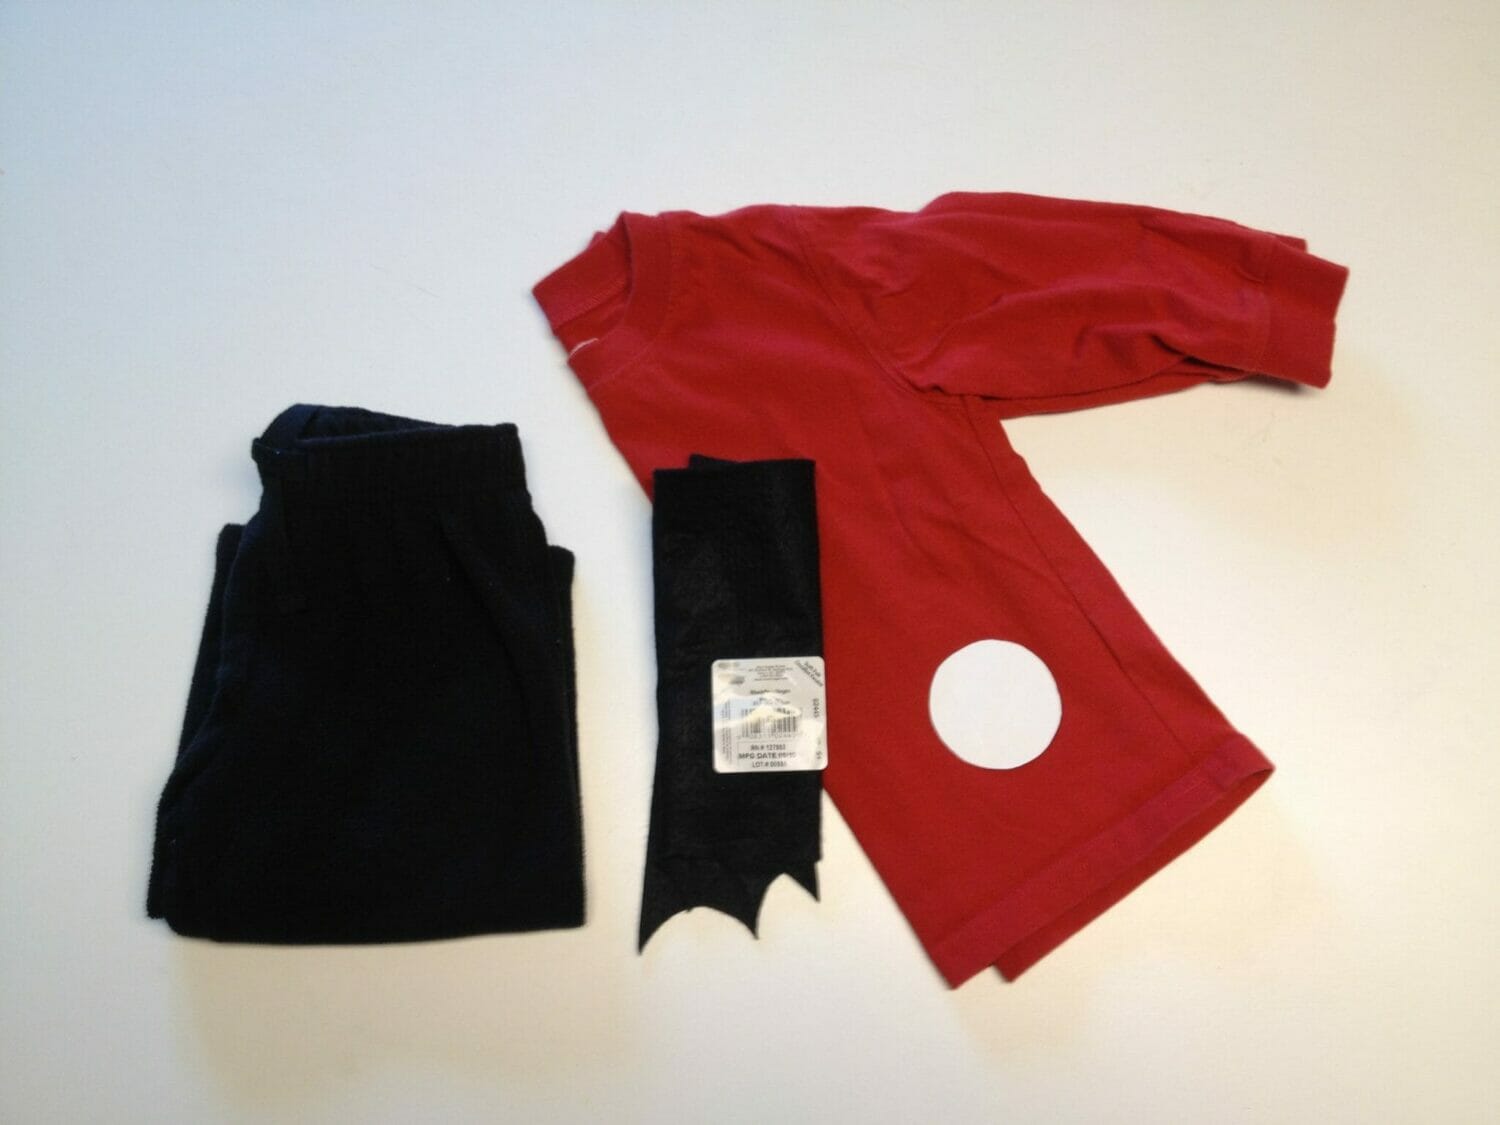
- Black pants
- A red long-sleeved shirt or onesie
- Black felt, fabric, or duct tape, plus scissors and a pencil or pen
- Black thread and a needle (not needed if you use adhesive felt or duct tape)
- A small glass or cup or a compass, plus a piece of cardboard to make a circle pattern, are also helpful


How to make your Cute Little Ladybug Costume
- The most time-consuming part of this costume is first tracing, and then cutting out, all the circles. Depending on the size of your ladybug, you’ll probably want around 18-24 black spots altogether.
- Once you’ve got all your circles cut, just baste them onto the shirt loosely with large black stitches, so they’ll be easy to remove later. I made felt circles when I dressed nine-month-old Kimmie in this costume, and then reused the spots with a larger shirt a few years later for eighteen-month-old Essie.
If you want to save time and don’t care about reusing the spots, you can also buy black felt with adhesive already on the back, or pre-cut black felt circles. (For reference, the ones I made for our costumes were closer to 2 inches across).
Final notes:
- If you’re a stickler for details, you’ll want to sew them on in a symmetrical pattern, since this is how ladybugs look in nature, as my scientifically-minded husband pointed out to me AFTER I’d sewn them all over Kimmie’s red onesie. (I did an internet search for images of ladybugs, and sure enough, they all had symmetrical spots; who knew? You learn something new every day.) When I redid the costume a couple of years later, I made sure to put the spots on Essie’s shirt in a Daddy- and nature-approved pattern.

- A red or black hat is optional; if you use one, you can pin a black pipe-cleaner on top (or poke it through the holes, if your hat is crocheted or knitted) to serve as antennae.
- Or, if your kiddo will stand for it, you could put antennae on a headband(my girls always preferred hats to headbands).
- This costume is very easy to make for adults, too, so you can match your little one for trick-or-treating, if you like.

Want more step-by-step tutorials for fun and frugal Halloween costumes? Love getting the latest parenting tips and tricks delivered right to your inbox?
Then you should be on our mailing list, so you don’t miss out on another time-money-sanity-saving hack! ✅ Click here to get signed up!
Then you should be on our mailing list, so you don’t miss out on another time-money-sanity-saving hack! ✅ Click here to get signed up!
If you enjoyed this DIY ladybug costume tutorial, why not share it with others by pinning this image?

NOTE: This site contains affiliate links. I may earn a small commission from any purchases made through affiliate links, at no additional cost to you. For more information, please read the full disclosure/privacy policy.
Follow Super Mom Hacks on Facebook, Instagram, Pinterest, and Twitter!
Or stay in the loop by joining our mailing list!
